Pat Schulz' photo of some of her circular "prehistory" inspirations
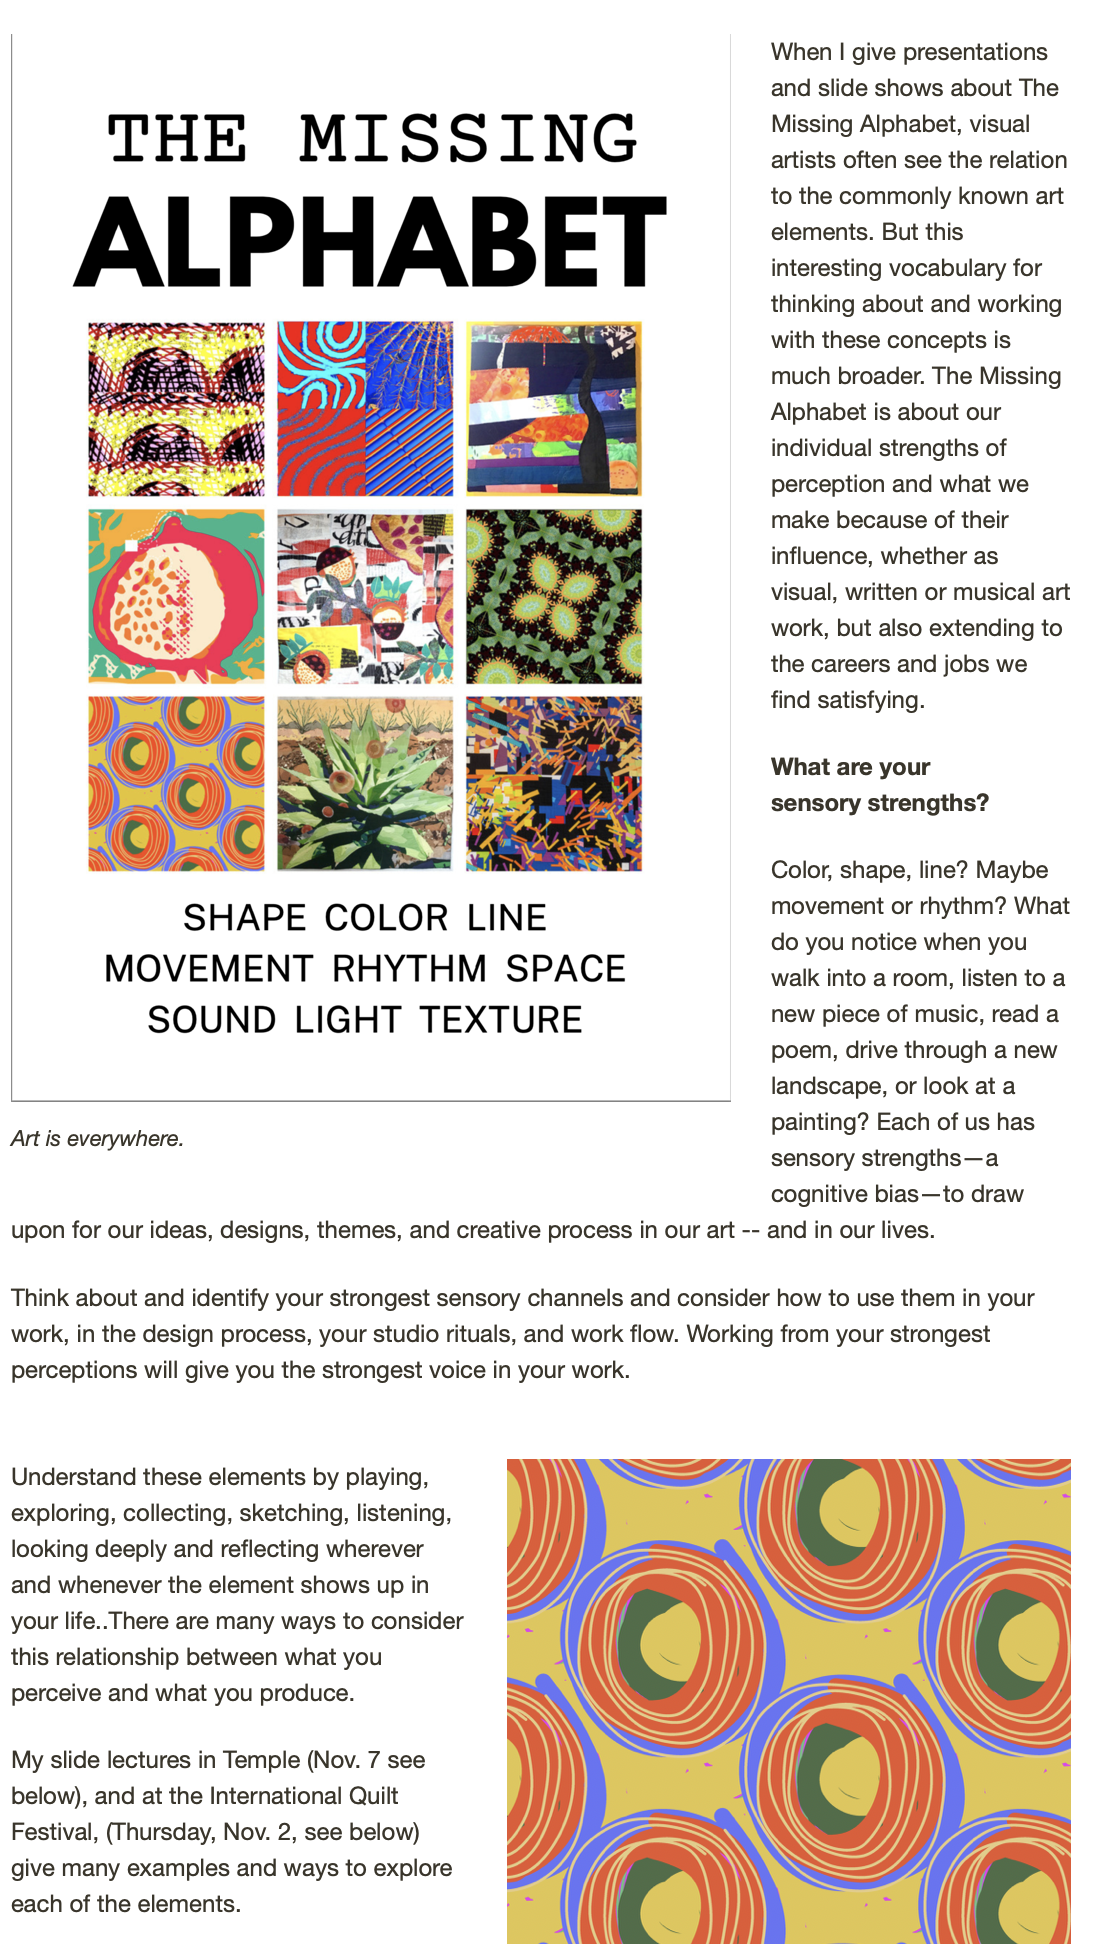
Prehistory, petroglyphs, pottery. All these earthy inspirations did just that --took a small and dedicated group of artist investigators into the past, with a process. This past weekend was the first of what I am calling a series of Make a Study workshops, each with the focus on a different period of art history as the "content" for learning a particular process of creative investigation, ie "making a study." The process takes participants through a procedure that marries content, form and individual interests and individuality strenghts.
Here's what we did (edited from the workshop handouts). I'll probably offer this one again sometime this year, as there was a lot of interest, but the date just didn't work for some and a couple of other participants dropped out due to illness. Pat and Cindy made the weekend a treat for me, and since the group was so small, I had more time to work alongside.
Making a Study -- a creative process for artists and others
Whether one’s chosen topic or theme for a piece of work is assigned, chosen or commissioned, this process of “making a study” can yield satisfying, original and interesting work that reflects one’s personal style as an artist/creator. And the process pretty much stays the same whether the end product desired is a fiber art work, a traditional quilt, a painting, a poem, a play, a novel, perhaps even an innovative business! This set of procedures is open-ended and improvisational, but has a logical, linear set of “rules” that order the investigation/study. Each artist, sooner or later, develops her own way of making a study, and adapts these rules to her needs and desires, but the workshop this weekend will take us along one path though the study.
This workshop takes on a vast “period” of creative endeavor -- that of humankind’s prehistoric, or pre -“civilization” expressions -- as rock paintings and carvings, “primitive” clothing, textiles and pottery, in documentation and speculation of humans as creators in our most “native” state of culture. This is a huge area of inspiration for artists throughout the ages, and it remains a deep pool of connection to us as beings in nature, with nature and with our most simple tools and materials. It is the first of a series of workshops here at El Cielo where participants will engage their imaginations, hands and hearts with periods of art history (in this case pre-history, too).

Here's my inspiration table set up in the studio before the workshop. I like to think of the studio as a "theater for ideas," and try to design a stage set that sets the mood with all the Sensory Alphabet taken in to consideration.
NEW: A CREATIVE STUDY: PETROGLYPHS, POTTERY & PREHISTORY
NOVEMBER 6-8 (optional Friday night potluck and critique session)
Many artists have found inspiration in prehistoric and archetypal imagery from caves, cliffs and ancient ceramics. This is the first of a series of “creative study” workshops that will illuminate how you as an artist can take inspiration from the images and imagination of the past, while transforming the images into something uniquely your own. This workshop models a time-proven creative study process (based on that developed at Learning About Learning Educational Foundation and the Paul Baker Theatre) that can be adapted to many inspirational sources. We’ll go from collection through synthesis to creating, and explore textile and mixed media techniques that relate to the aesthetic and philosophical qualities and intent of the earliest art-makers. Explore some simple natural dyes; use handmade brushes as tools, make pigmented paints with ashes, earth, rust and minerals.
9:00 - 12 noon COLLECTING IDEAS
All of the activities for the morning are designed to take you through a variety of ways to collect ideas for later use in projects. You will collect far more ideas than you can use this weekend -- perhaps more than you can use ever! Don’t make judgements about your collections during this morning work. You will edit, refine and combine elements from your collections later. Try to keep your inner censor at bay when drawing, moving, thinking, writing, collaging. This is process, not product.
 My collection wall of spiral ideas and images.
9- 10 Collecting from books, magazines and photos.
Go though any books, photos, magazines, etc that you see in the room, that you brought, even on the computer, if you want to google! Make copies on the copier of photos or illustrations that you find interesting or surprising or otherwise engaging that relate to our theme of prehistoric symbols, art, culture or creations. You can also make sketches of elements that you find and like in the photos or books.Trust your instincts. Don’t try to make sense or order from what you are collecting. However, you are welcome to narrow your focus if that makes you more comfortable with the scope of our work. For example, you may just want to work with rock art images and symbols, or totems and animal images, or you may want to focus on Meso-America or Native American images and culture, rather than the whole world of prehistory. If there is a particular aspect of this big topic that is particularly interesting to you, go with it -- but
10-10:15 Collecting with words
Spread out your collection of images. Write lists of words and phrases that come to you as you look at them. Think Sensory Alphabet; LINE, SHAPE, COLOR, TEXTURE, LIGHT, SPACE, RHYTHM, SOUND, COLOR. Be as specific and descriptive as you can. Again, don’t worry about making connections or making sense, go with the flow. Work quickly, easily.
10:15 to 11 Collecting objects and sketching
Look at the manmade and natural objects in the room. Thinking about the words you wrote, and the pictures you collect, select 10 or so objects that seem to have some kind of relationship to the other things you have collected (It doesn’t have to be a linear, logical connection!) SKETCH those objects. You do not have to make the sketches “realistic”, just capture the important lines, shapes, textures, rhythms, etc! Keep the 5 objects you find most interesting after doing the sketches. You may also want to take photos of these objects.

11 -- 11:30 Collecting outdoors
Take a walk around the property (watch for loose rocks, snakes, etc!) and take photos or make sketches of details, scenes, shapes, shadows, textures, colors, etc (the whole Sensory Alphabet again) that you think have a relationship to the theme we are exploring. Collect physical items that you might want to use. (Lots of bags and boxes are available). Take time to just sit in nature and imagine what it would have been like here as a human with out all our creature comforts and material goods. Write words and phrases that come to you. Be attentive.
11:30 -- 12:00 (more-or-less) Arrange your collection in the studio, garage, porch or outdoors in a place that pleases you. There are lots of card tables in the garage to use if you wish. Make this like a mini-museum of your collection to share with the others. As you arrange things, you may see relationships. patterns, similarities or distinctions that are interesting. You can highlight these in your arrangements.
1:00 -- 4:00 PLAYING with IDEAS
The next stage of this process of making a study is to play with some/all of the ideas that you have collected. You can use everything or just a few narrowed down selections, but again, the idea is to approach your work with fun, ease and fluency, not judgement, perfectionism or a “race to the finish” mentality. You may go down a lot of “dead ends,” but something may come of one of these paths later in your creative work. The idea of this stage is to take one or more of the inklings into different media, materials, genres, and to look at how one or more of these ideas morph, combine, connect, etc. (PS this is where we sneaked in the rusting fabric, tinting with natural materials, experimenting with some different tools, etc).
1:00 - 1:30 Asking Questions
Choose a few items, photos, sketches, phrases etc from your collection that are interesting to you. Make a list of as many questions as you possibly can think of in the time alloted about those items. (for example: Who made this design first? What was this early artist imaging when she/he drew this? What tools were used for this?...etc.)Just keep writing until time is called. Make up silly questions if that is all you can think of! You dont have to know th eanswers or even expect to find out the answers. The process of open-ended questioning can inspire amazing directions for creative work.
1:30 -- 2:30 Simplifying, Multiplying, Playing with Scale
Take as many images as you wish through these processes: (Susie will demo all first)
Cut black paper shapes inspired by the idea you collected. Paste it on white paper, Try the opposite -- white on black. Simplify with cutting paper, and then try simplifying with a sketch or drawing. Which works best for you? Try using tracing paper to trace an image and simplify it. You can also use the computer if time allows, using photoshop and “stamp” filter.
Reduce and/or enlarge a visual idea, symbol or sketch (you might need to simplify it first). How does the idea change? Use the copy machines or do so manually.
Collage multiples of an idea image. Use the copy machine, make a simple rubber stamp, eraser stamp or or foamy stamp. Use paper or fabric for your stamping multiples.
 Cindy's dancing girl petroglyph stamp.
 Pat's "modern petroglyphs" inspired by some of her image experiments.
2:30 - 4:00 Explore New Media: Photo Transfers with Polyester Plastic sheets and Polymer Medium.
Options: you can use a photo you took (or take now), a picture from a book or magazine, a sketch, a collage you make from multiple images that you have collected, A tracing of an illustration, etc. This can be a color or black and white or sepia image.
The Basics.
You need polyester transparency sheets, available from art stores or online. These are designed for wet media and to be non-beading. Use a strip of painters or masking tape on the leading edge.
Experiment with different printer settings -- each gives different results.
Run the polyester sheet through the printer with your image or a computer sourced image. The image will be wet when it comes out of the machine
Turn the image face down on your fabric. (For permanence, fabric will need to be treated with bubble jet set or you will need to use the polymer medium with the image. Use your hand or a brayer to transfer the image to the cloth.
OPTIONS; Dampen the fabric first, with foam brush or with a sprayer
Brush with polymer medium -- thick or thin -- first (this will need to be washed off the transparency sheet quickly) or after the image is transfered.
Brush with water to melt the image. Spray with water, mist or sprinkle
Overprint with screened image or stamps.
 A polyester film transfer of some of my spiral image playtime.
SUNDAY
9:00 -- 10:30 MORE Explore New Media: Screen printing with charcoal, spice powders, dyes watersoluble media. (We didn't get to all of this, just used charcoal and water soluble crayons) Demo by Susie, then work time with whichever media and images you wish to work with. Details about this process are in a previous post and will also appear in this next month's Quilting Arts magazine.

10:30 -- 4
INVENTING WITH IDEAS
Now’s the time to take all/some/a few/even just one of the ideas that you collected and played with and take it to a form. Since we’ve started with prehistory, I suggest that you work in a form that has some relationship to the period: doll, totem, petroglyph imagery, a cave wall in fabric, costume or mask.
Obviously, this post is overkill with the detail, but I confess to having a lot in my sights today -- I am both trying for some R&R from the weekend (though I admit it was so much fun I don't really need down time!), and trying to think a bit about the end of year, and next year's goals. The holiday season gets so busy, I have a hard time getting in enough reflection time in December. I also seem to be somewhat in a tiny lull after so much work getting it together (and apart) from the quilt festival.
One of the shortcomings I see in my process of work is a certain lack of "sticktoitiveness." So I am setting some things in motion that will give me some repeatable touchstones for work -- a quilt challenge with 12 others that lasts two years (good grief). And if I'm not too late to join up, setting one major annual goal for Oct - Oct 2010 (ok starting a month late) with the SAQA Visioning process. I hope to hear if I'm in on that one by the end of the day. If I don't get into the formal process, I will try to do it on my own.
And, along with those, getting myself back to the blog on a really regular basis. Yes, you have heard this before from me (and how many countless others whose blogs sit withering on the vine), but this time I MEAN IT. And those two other commitments will I hope keep me honest and give me a lot of new ideas and processes, successes and challenges to include on these virtual pages.
P.S. The next process oriented workshop is the first weekend of December. Here are the details!
NEW:
MEMOIR, MEMORY and MEMORIAL
DEC. 4-6
(optional Friday night potluck and critique session) Continue the season of Dias de los Muertos by creating a memorial altar to a person, to a personally potent memory (or past life of your own), even to a summer vacation! Learn to transfer photos onto a number of interesting surfaces including plastic, metal and fiber; add words, names and text with resist crayons; microwave dye custom fabrics, and embellish your textile and mixed media altar with all manner of beads, trinkets and meaning-full treasures. $150, (Additional $10 fee for wooden altar frame.)
Email me directly or through the form on the sidebar if you are interested. I'll send details about the rooms still available (free to $30) and other details.