Rain in the Studio


I wish!

We are in the middle of serious drought here, no rain to speak of for months. 

I added my voice (visually) today, as I started work on a series of Rain Dances. These are a couple of in-progress photos as the day and the ideas developed. This piece is in the vein of a couple of large textile paintings I did several years ago for an exhibit at the Martin Museum of Art at Baylor University. As you can see, I work on a large table rather than a design wall -- I want to be able to put down as many layers of image as I need to and pinning to a wall is just too time consuming. Thus, I stand on a foot stool (or climb an 8 ft ladder) and take a photo when I need to get a better distance view. Works for me!

This one is going to be called Pond Prayer, I think.

Here's a little bit of ethnographic info from Wikipedia:

Julia M. Butree (a wife of Ernest Thompson Seton) in her book,[2] among other Native American dances, describes the "Rain Dance of Zuni."[3] Feathers and turquoise (or any sort of blue shade) are worn during the ceremony to symbolize wind and rain respectively. Many oral traditions of the Rain Dance have been passed down[4] In an early sort ofmeteorology, Native Americans in the midwestern parts of the modern United States often tracked and followed known weather patterns while offering to perform a rain dance for settlers in return for trade items. This is best documented among Osage and Quapaw Indian tribes of Missouri and Arkansas.

I also found this line beautiful prayer for rain from the Sehardic Jewish tradition:

"So open, we pray, Thy goodly treasury of rain, to revive all in whom a soul is breathed, as Thou makest the wind to blow and the rain to fall."

I am expecting this to become a series of ongoing pieces ... I have been searching for a theme that had real meaning to me, and right now, this prayer is that, this dance is that. For all of us in the drought and all of us in the floods, let's have our blessings reversed!


Soy Batik Improvisation

Detail of Stop Fear. You can see the entire quilt at the International Quilt Festivals this year!

I've just been notified that my art quilt, Stop Fear (Homage to Sister Corita Kent) has made it into the juried SAQA exhibit, Text Messages. Yippee! This piece was principally designed using a large one-color soy wax batik that I made a few years ago -- and i've had such a good time working with it, that I'm itching to get back into the studio next week for a few day-long soy wax sessions. I am also sending out soy batik lessons this week on Joggles, part of my MORE TEXT ON TEXTILES online workshop. 

Sister Corita Kent has long been an inspiration to my work, and I can’t think of using text in art without thinking of her. This batik and, even more importantly, its message, speak of her influence on my life and in my work. I was first introduced to a version of traditional batik using beeswax and parafin mixture and inkodyes when I was in my 20s -- it must have been the first surface design technique I learned and the teachers were visiting Sister Corita students who worked with us in our creative arts for kids programs one summer -- maybe 1967 or '68?

Inkodyes are still around -- and they are VERY light and water fast -- but I had heard that their toxicity is higher than MX dyes, so I've left them alone in the past several decades -- the colors, too are hard to mix, since  -- kind of like ceramic glazes -- the color that goes onto the fabric is very different than the color that develops in sunlight as the dyes develop. However, this site with its app for making registered three color photo prints just might change my mind! This is what the site says about toxicity:

Our dyes and resist have been certified as having no chronic toxicity by an independent toxicologist. Our products conform to the Labeling of Hazardous Art Materials Act (Conforms with ASTM D-4236). We are committed to the health and safety of everyone who enjoys Inkodye, which is why we recommend using normal precaution to prevent unnecessary spilling, skin contact and ingestion. Children love to watch the magical color development, but should not use Inkodye unsupervised. Our dyes are water-based and only require household soap and water cleanup - we recommend that you wash your hands thoroughly after use and / or use gloves to prevent prolonged skin contact and staining! We recommend using the sun to develop your prints, but if you choose to iron wet Inkodye articles indoors please work in an environment with adequate ventilation! 

At any rate, if you do use inkodyes with soy batik, you can wash out the wax after the dyes develop without using an iron -- bound to be better for the lungs and environment. 

Basically, soy wax can be used as with traditional batik, but you can't immerse fabric without running the risk of it dissolving too much of your wax resist -- so the technique requires that you paint on your intense low-water type dye mix (including soda ash and urea to retard drying) and then batch under plastic, removing plastic to dry the fabric, then adding another layer of wax -- or you can wash out the soy wax between colors. -- hot water and detergent turns it into soy oil that washes down the drain. Alternatively use Inkodyes, according to directions.

(PS Thanks Nina-Marie for the invitation to add this link to your off-the-wall Friday posting!

Here are a few photos of the process:

You can also use an electric skillet. Be very careful with temperatures and keep a lid handy in case things get out of hand. Do not heat the wax so hot that it smokes. Fortunately soy wax fumes are not toxic or allergenic (as is the case with paraffin and bees wax fumes).

Another way to use soy wax is to use it with a thin paint, as I am doing here. Be sure the wax is hot enough that it makes the fabric a bit transparent looking-- the wax need to go all the way through the fabric.

You can take some of the wax out by ironing first -- if you use paint, you must iron it before you put it in the washer in order to set the paint, then put your fabric in hot soapy washer in the machine. Sometimes, with heavy wax applications, it may take two trips through the washer. 

Sun Prints Even in Winter?

My Joggles class this week features Sun Printing letters and text.  (Hint: use refrigerator magnets and foam letters) I love this process and often use the results in my work. This little altar piece above is part of a small series (so far) called Found Text. It's kind of a random improvisational way of working, where I find images and then words or words and then images in my stash, put them together almost like little visual poems. They aren't deep or profound, sometimes they are even whimsical, but they are works that make me happy -- not the least because I am making use of some fragments and bits and pieces that I  really like but that don't seem to fit into anything else I am doing!

But, I realized that for this online course, here I was suggesting sunprinting at a time when most of us can't use the sun for the results. Now, South Texas yesterday worked; it was about 85 in downtown San Antonio. But today, a Norther is upon us and the temps low, and more importantly, the wind is roaring, no way to keep shadows on a piece of fabric!

Here's what Pebeo, makers of Setacolor --one of the best  paints to use for this process -- recommends:

"If the sun is not reliable there are other options. Heat lamps such as those used by restautants", grow lights (I'm sure you have one) and I say, just use those metal work lamps mounted close to your fabric. Don't go off and leave these, any could cause a fire if the bulb fell on the fabric or it got too hot. But you will get the results if the humidity is low. High humidity, too? Better wait until August!

Some other tips gathered here and there for sunprints:

Sprinkle the surface with salt

Use complementary color washes of your thinned out paints

Rubber band fabric, spray with paints and leave in the sun for an interesting variation of tie dye


More Handmade Alphabets


Detail of printed text on textile using inkjet printer

Here are just a few links and cool sites that have some interesting ideas for handmadealphabets of different kinds (not just stamps). Since I'm teaching a lesson this week on Joggles that talks about my usual technique with tips and to-dos (using craft foam, like lots of others) to make alphabet stamps, I took a tour around the blogosphere and found these interesting sites. 

Crafting a Green World -- not stamps, but crafts, still fun...

Wooden Alphabet Beads -- how about these mounted to make stamps?

 Jumbo foam letters can be purchased here if you don't want to cut your own.

Really GOOD Alphabet Stencils

A template for cutting your own letters, in case you want something a little more regular than your own text. And more here.

Here is a great tutorial for making CORK alphabet stamps.

Linoleum Block stamp basics are here on this page.

And to go with them all: Dollar Store Stamp Pads!

And last of all, if you want a "real" inkable rubbler stamp (better for paper than for fabric) you can custom design online on several sites including this one.

I also set up a Pinterest Board devoted to More Text on Textiles! 

Any other ideas? Feel free to share -- and by the way, the Joggles workshop runs this and three more weeks, (and you can download last week's lesson any time) so if you are interested, sign up here.

Snapguide How-To


From a message on Quilting Arts list from Jane Davila:

"Has anyone heard of Snapguide? I'm a recent devotee and have just posted my second guide there. It's a website and app that hosts tutorials, or guides as they call them, on a wide variety of topics. The audience is growing exponentially (over a million in less than a year), and unlike Pinterest, the guides can only be posted by the creators not brought from other sources (eliminating pesky copyright quandaries). But like many social networks you can favorite, share, follow, and comment. The interface to create a guide is elegant and very simple. You can add videos and photos along with text for your guides.

So my thinking is the stronger and more interesting the guides are there, the bigger the audience will become, attracting more high quality guides, attracting more readers, and so on. It was started by some big names in tech and has financial backing from some very savvy tech investors. It is viewable on the web and as an app on the iPhone or the iPad....I wrote a blog post about it and included the links to the 2 guides I wrote. One guide is to make matchbook art notepads and the other is how to transfer images using Citrasolv natural solvent.

I too have made a little snapguide on using some iPad apps to make snowflake designs (great for thermofax designs, too).

I really like the site and understand their financial need to make it work as a social platform (Hey, I don't listen to Seth Godin for nothing -- his STARTUP SCHOOL podcast is amazing if you think about your art business as a start-up). I admit, I would find it great to be able to use Snapguide for private guides as an option, so I coul duse it as an online course!

The interface is really fun, fast, painless and idiot-proof (I am said idiot), and the format makes it easy to use just the right amount of text with your images. Take a look! Add your own ideas, too. I do think they will make it to scale with this idea because the interface is so easy, so nice to look at and, by now, there are a crazy wild assortment of guides being posted!

Here's the link to my Snapguide -- http://snapguide.com/guides/design-an-ipad-snowflake/


Snowflakes (Sort of)


DIGITAL FLAKES

OK, looks like we aren't going to get snow, at least not with this cold front or the next (blowing in tomorrow night). So I've satisfied my desires (which are fickle at best) with some snowflake like mandala designs made with various iPad apps. 


Rainbow Printing Revisited

I love to make Rainbow Prints. This is my go-to method for making one-of-a-kind versions of iconic images, saints and sinners, angels and other visitors to the design table when I want something specifically matching a color scheme or a one-of-a-kind version of one of my silkscreens or thermofaxes. Over the years, I have featured this technique in workshops, in a Quilting Arts issue, in a DVD (see below) and on many of my textile paintings and altars.

My lovely lightweight Airbook has one difficiency, it doesn't have a big memory. So I tend to have to juggle info and files and the go-to stuff I am working with on and off of external drives. And, (I don't suppose you will be surprised) I don't exactly have a uniform file naming or file storage system in place. SOmehow, I don't think this chore is going to come to the top of the list anytime soon,

So I just find myself on the occasional morning like this doing copying and deleting -- and the good thing is that I surprise myself with all the treasures that I have forgotten! So, before I banish some of these pdfs to the external drive, I thought I would share them here on the blog. 

First, here's a pdf of the "short version" of how to make Rainbow Prints --my term for multicolored screen prints made with watersoluble crayons.

 I'll keep this pdf on the computer for another week, so act quickly if you want a copy via email -- just send a request to me on the comment form on the sidebar. I'll also put you on my monthly mailing list for other notices, unless you tell me PDF only, please.

If this tickles your fancy and you need or would enjoy more information and examples, you can see a video promo on Quilting Arts website or right here

and you can also order the DVD if you decide a full-fledged video workshop is just the ticket to success.


India Inspired Pillow

http://www.craftsy.com/classes

I hope to offer a class on Craftsy one of these days (you can help get me there by reccommending me as a teacher send an email to courses@craftsy.com). I demo'ed a couple of two hour sessions during the Houston International Quilt Festival and liked their professional attitudes and have enjoyed checking out the website. (Jane Dunnewold teaches a dye class there, too.)

So it seemed essential to actually take a class on their platform and to see how it worked. The lessons here are all video, with supporting print materials -- though I admit, I just went by the video and had no problem with the pillow project I tried. The class was taught by Carol Ann Waugh, Slash and Stitch, and she was great -- easy to follow, not boring, but certainly thorough. I just plowed through in one day with the class, though all the Craftsy courses are taken when and where and on your own schedule. The class commentary and questions to the instructor seem to be easy -- though it definitely must mean quite an ongoing commitment to the class by the teacher, since students start at any time and work at their own pace. Here's my project. I think I'll make more for Christmas gifts if I can work in the time. This pillow took me about 6 hours, but I think the next one will go more quickly as I learned some tricks from the first time through -- like, don't use slippery fabric for your bottom layer! And for less stitching, use more print or patterned fabric on that bottom layer, too. 


Anyhow, if you like to sew, quilt or make art with fabric, I reccommend Craftsy -- and this course was great!

PS Here I am at the Quilt Festival doing a stamp-making demo at the Craftsty area in the Food Court.


 Photo by Lesley Riley

Coming up at Southwest School of Art

Registration has begun for classes at the Southwest School of Art.  (210-224-1848, ext 317/334)

2349 | Finding Your Artist Voice  
Instructor:   Susie Monday 
Dates:    Mon, 10/1/2012 - 11/19/2012 | Time: 1:00 PM - 4:00 PM 

Distinguish your work by finding a vocabulary of shapes, images, marks that are personal and explored over and over - find your artist voice by refining, repeating and elaborating a process. This course will not be technique-or media-oriented, but will help you define and focus your work though the active creation of a series (five to 10 pieces) within the parameters of your self-selected direction. 


Screen Printing Free Form Letters

This blog post is intended as a bonus for those enrolled in my More Text on Textiles online course that started on Joggles today. 

Now, it's not too late to join in the fun, so if you are interested in this 4-week, PDF based course (with an online forum during the next 6 weeks), head on over to this link for enrollment info --http://www.joggles.com/store/catalog/product_info.php?cPath=75_1235&products_id=24165

It's an affordable way to get your feet wet with putting words, quotations, pithy comments and other thoughts (yours and others) on your art quilts, art cloth, wearable art or mixed media pieces.

Using letter forms for screenprinting stencils is another way to use your cut letters. P.S. This post assumes you have a basic knowlege of screenprinting. If not, go to this site to see a demo at http://www.youtube.com/watch?v=wogKeYH2wEE. This is a demo that takes you through the entire process, making your own screen. You can purchase them ready-made at many art supply stores. This demo shows all kinds of stencils, and you will be using your cut letters as the stencil. YOU don't need a clamped frame, I just move my small screen over the fabric. 

Because these letters will be used as a one time stencil, then thrown away, I usually just use old newspaper or sheets of newsprint, or recycled copy paper. Newspaper is really great because it is really thin and adheres to the screen and wet ink really well.


Any thin flat paper will work, but if you want a reusable stencil, cut your letters with contact paper (backing side up, the sticky side goes against the back of the screen).

 You can use any clean silkscreen for your tool. Occasionally I even use one with defects or blocked areas, for a distressed kind of print.

 Free-hand cut your word or words from your choice of paper (instructions are in the first lesson of More Text on Textiles). Then use small folds of masking tape (one or two per letter only), and tape your letters on the back (bottom) of the screen. Your words should read correctly through the screen unless you are intentionally reversing them. This is a great time to teach yourself to cut serif letters or letters that enlarge some iconic type (like those used by Corita Kent in her work).

Screenprint onto ironed flat fabric with thickened dye (see the Dharma catalog for easy instructions and supplies), textile screen printing ink, or other inks. Use a padded surface under your fabric.

Use your word as a repeat, or as a one-time print. When finished wipe down the screen, remove the letters and wash. Let textile ink prints dry, then iron to set. Thickened dye prints need to be batched, as with any dye painted fabrics.


Susie Goes Live on Joggles


 It's here! This week I launch my first online (for real) course on Joggles, Text on Textiles.

I'll be teaching this on on the Joggles forum, and have been working on ways to provide meaningful help and feedback. I am considering adding some experimental videos (on the side, with links on the course materials) so this will be have a learning challenge and curve for me as well. The video's won't be part of lesson one, since it's less a technique than a getting-started design lesson, but I'll work on the videos for others of the 5 lessons. 

The workshop is only $45, so if you are interested, click over to the site and sign up now. The first of the lessons will be posted on Wednesday.


That link again: http://www.joggles.com/store/catalog/product_info.php?cPath=75_1235&products_id=23449


A Fine Time, with Mary Ruth Smith

The Texas Federation of Fiber Artists happened this end-of-February in Kerrville. I had a great time at the events in Kerrville that I attended. (And a wonderful time during the open studio at El Cielo on Friday, with special guest artists Robin Early, Sarah Burke and Mary Lance.)

Tops on the list: Mary Ruth Smith's stitching class. Just to hear her stories and her approach to her meticulous and amazing work was worth the price of admission to the entire conference. (Mary Ruth says take photos, but not of her face...)

Let the photos inspire:


 The piece above is layers of French knots -- Mary Ruth says it takes aabout 2 hours to stitch one square inch, about 200 hours in each of the pieces in this series (and she is FAST).

Mary Ruth says that she works with stitch in three ways: to construct fabric (as with the French knot piece above), to embellish and to draw. Some pieces use one approach, others several. She most often uses only one kind of stitch in a piece -- ie, thousands of seed stitches, thousands of cross stitches or thousands of those knots. Looking at her work, I noticed that quite a few also had maybe two different stitches -- one constructing the surface and one embellishing it.

I've been stitching (by hand) ever since the weekend, and have these observations:

Hand stitiching for me is quite meditative. I think I can give up yoga (no, not really... the shoulders say otherwise).

It takes a LONG TIME. Hand Stitch is the "slow craft" that calls to me. I get antsy with some tedious chores, but not hand-stitching.

I can travel with hand stitch projects -- even walking the Camino this summer, I should be able to carry along something!

I like black thread and the black lines that stitching with it makes. A lot. 

The overlay idea (putting a very sheer black fabric over ones first layer of stitch) is a novel and interesting way to play with value and to tie together bits of small appliqued fabrics -- it serves to hold down all the little threads and edges without fusing or satin stitching the entire edge. Mary Ruth used to buy her sheer Japanese made chiffon scarves at WalMart, but they no longer seem to carry them. She finds them now at (http://www.meinketoy.com/) Meinke Toy. HOWEVER, I think I found a substitute yesterday at the local wholesale florist -- in San Antonio at Travis Wholesale Florist. It's a very sheer, very transparent length of fabric sold as a decor sheer. $6 for a whole lot of cloth. I'm sending a piece to Mary Ruth immediately!

Another great source she shared for yarns, sari strips and paper yarn, perfect for couching: Darn Good Yarn.

She also likes to color her fabric before stitching sometimes with scraps of disperse dye painted papers. These dyes, for polyester and other synthetic fabrics only, are similar to the Crayola fabric iron on dye crayons. She now uses a product from ProChem called Prosperse Dyes. Here's a helpful YouTube with textile artist Mary Gamester that illustrates several ways to use this kind of product. And a helpful one-page sample from a book by Carolyn Dahl.

The picture directly below on the left shows at the bottom of the picture an interesting and simple way to mount these stitched and stretched art works. Mary Ruth stretches her muslin or other fabric around standard sized stretcher boards. When the work is finished, she may remove it and wrap it around another display board, then she nails a smaller by one inch covered stretcher bars onto the back of the piece with the art stretched around it. This gets the hanging hardware, (ie a 13" by 13" art piece is backed with a 12" by 12" stretcher boards stretched with plain muslin).

Fun with Instant Sketch

I'm always looking for fun and differenct (and free or almost free) apps to load on my iphone, and this one is a winner: Instant Sketch. It's just another variation on a photo sketch tool, but it does precisely what I want with a miminum of settings to tinker with. This will be a great app to share in my COMPUTER TO CLOTH workshop at El Cielo this April, since it's an easy way to go from photo or collage or artwork to a completely black-and-white line drawing. You can alter the line hardness and softness, and add or subtract deep blacks. 

The image above is from this letter collage set and shows the possibility for using this app with art/collage and text, as well as its intended use with photos. I've posted a couple of those examples below, as well.

You can choose an HD or SD (definitions high or standard) for your output and email the images or share via FB.

The sketch above is from a cropped version of this photo (you can crop and scale in the app, too, or take a photo on the spot).


Well, other than the wrinkles, it all works. And I did earn everyone of them!


Art Play Day Number 1


Pat Schulz demonstrates the basics.


A small group of fiber artists and mixed media artists have committed to monthly (more or less) play dates, no end product in mind, but a time to explore different media that perhaps one or more of us has never explored. The first hands-on meeting was last week and we went head-to-head in Pat's Beacon Hill studio to experiment with tissue paper fabric (or is is fabric tissue?). The number has been limited to four, since that makes it possible for us to meet in each others' studios, most of which are fairly small and compact. We're taking turns organizing and teaching, and also play every fifth meeting to be a show and tell session where we each bring back one or more pieces of work that use one or more of the techniques explored in our sessions.

Whatever its name, this is a dry process (unlike the wet process using gel medium or glue that I was familiar with). Using Steam-a-Seam (best because it has a tackiness that holds the initial layer in place) or WonderUnder or another fusible webbing, ltissue papers and collage materials are layered between two fused web layers, then the top surface painted, then the whole sandwich of paper and fusible is ironed to a fabric "liner." One can make subtle and distinctive layered images that can be either treated like a paper collage, or if bound to fabric, stitched into other fiber media.

The end results (and some shots of the participating artists):


Beautiful experiments from Liz Napier


Pat Schulz's experiment with pattern paper and tissue...


Sue Cooke hard at work.

 A cactus from tissue and pattern paper, fused to a gallery canvas frame 12"by 12", one of my projects. Think there's a little series to be found, as I am fixated on my cacti these days. 


From Photo to Fabric -- Image Prep for Thermofax

Continuing the on-line investigations today (yes, I'm home and laying low with a spring cold, it seems), I've been looking for a good on-line photo editor that will take the place of PhotoShop for those of my students who don't own the software. 


The original photo

Since my knowledge of Photoshop can be contained in a thimble (I use it exclusively to resize photos and to turn photos into high contrast black and white images to use to make thermofaxes), it doesn't take too much to satisfy this tech need. And I found much more than needed with Pixlr. And even Pixlr Express will do what I need for converting to a thermofax-friendly image. Pixlr has been around for a while so it may be familiar to you -- best of all, of course, it's free and it takes up no room on your computer. You can save the images you create or alter into several different formats including jpeg and tiff files.

 The photos in this post show several different conversions using different tools in the software. Here are the tips I can share so far: use "desaturate" to convert from color to black-and-white. Up the contrast all the way, adjusting brightness as you see fit. These actions take place under the "Adjustments" tab at the top of the image editor. Then under "Filters" apply the "art poster" effect, moving the toggle switches to see what different effects you get. If you want a "noisy" print, use the NOISE filter before you play around with art poster.

Try your own combinations of actions and order of actions to vary the image. You'll find a rich field of image ideas to convert to thermofax screens, stencils, traditional screen-prints or even stamps with cut foam or surestamp.


Designing with Text, Up in the Cloud

In a nutshell, it's Wordle. 

http://www.wordle.net/

The graphic above is the word cloud generated by Wordle using the text in this blog site! You can use any site, any text block, anything you want to type into the program or copy and paste. It's fun to scroll through the gallery, too. Lots of design uses for this program!

This is a great word cloud design site, passed along to me from Caryl Gaubatz via Pat Schulz, who knows my interest in text on the surface. I'm posting it here, not only to share, but I find that it's helpful to use my blog as a kind of electonic filing cabinet of ideas I want to explore more!

MORE: the developer of Wordle referred me (via his posterous page) to another, newer word cloud design generator -- http://www.tagxedo.com/app.html 

With Tagxedo, you can also put the cloud into a specific design shape or form and manipulate more of the criteria for the design. 

Fabulous Earth, Air and Water T-Shirts

This is an activity that's become a standard activity with the groups of Central American Youth Ambassadors who visit Alamo Colleges each year. We just wrapped up a week with 23 ambassadors from four countries, paired with 20 or so host kids from San Antonio's Legacy High School and the International School of the Americas (housed at Lee High School).

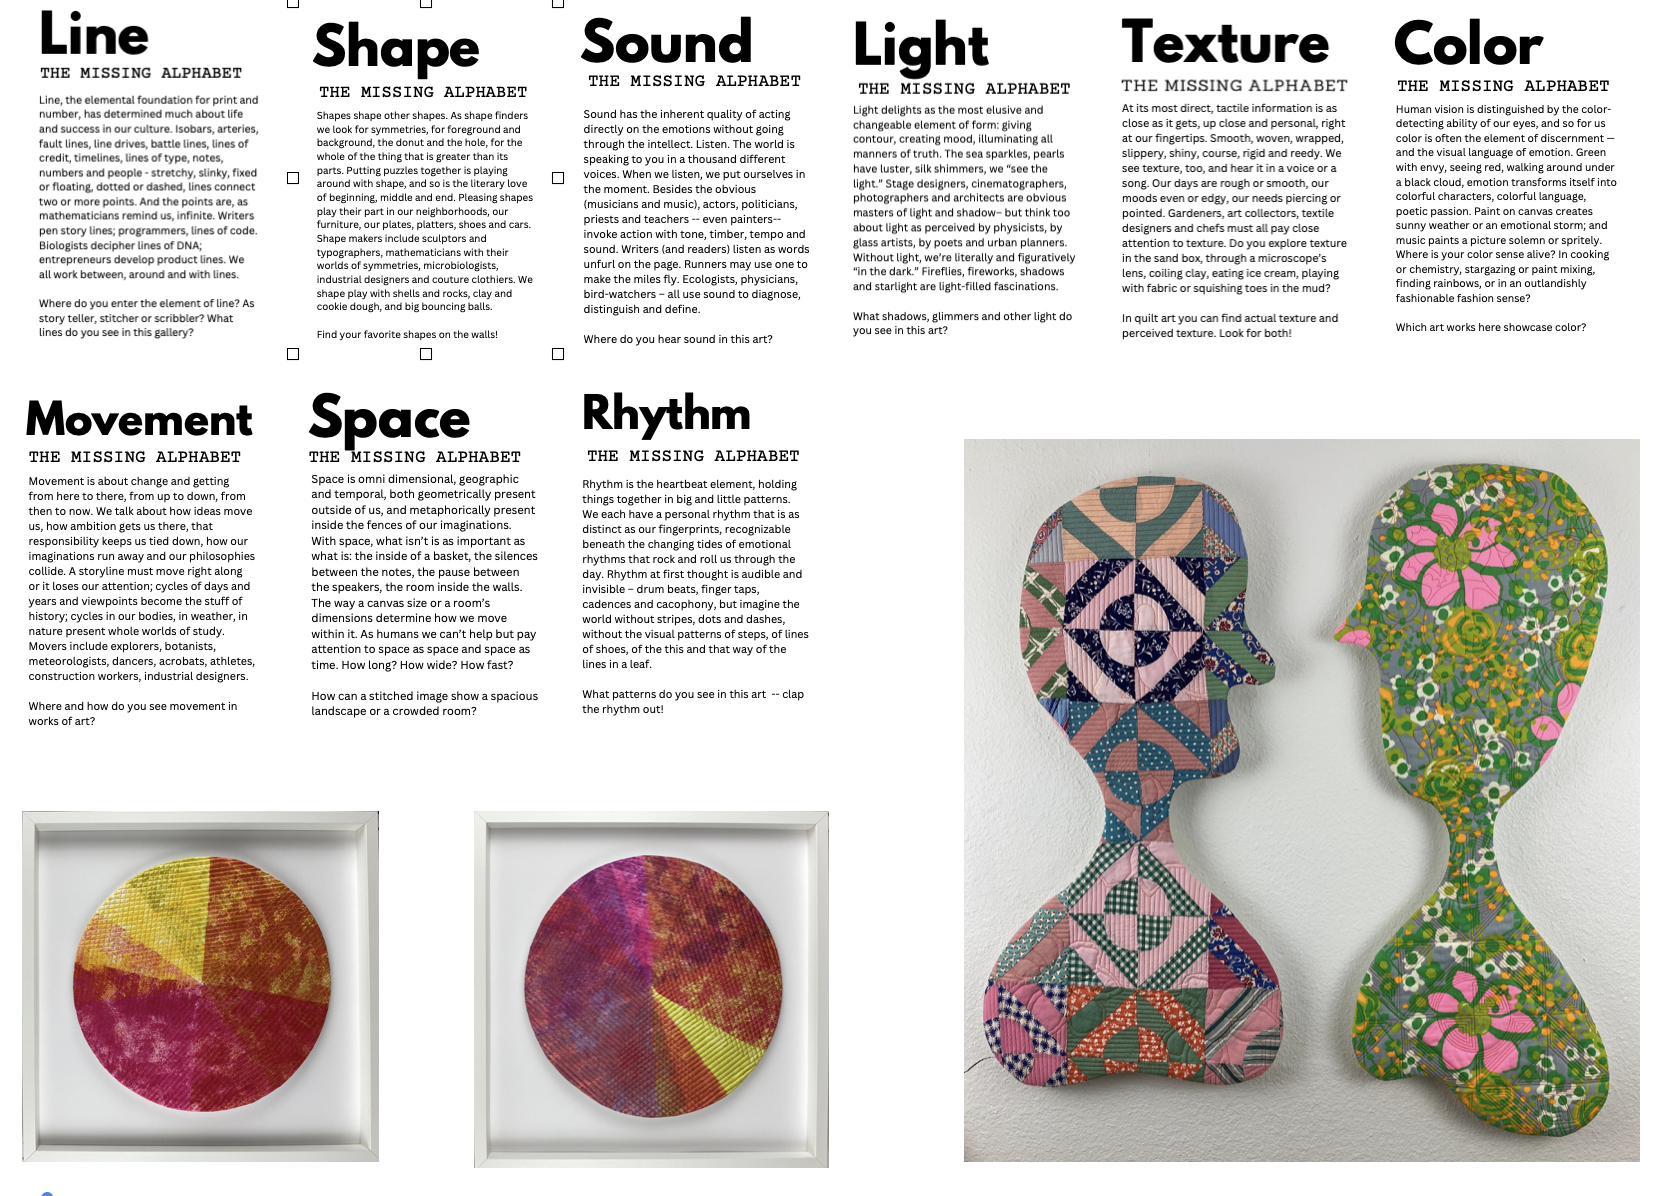
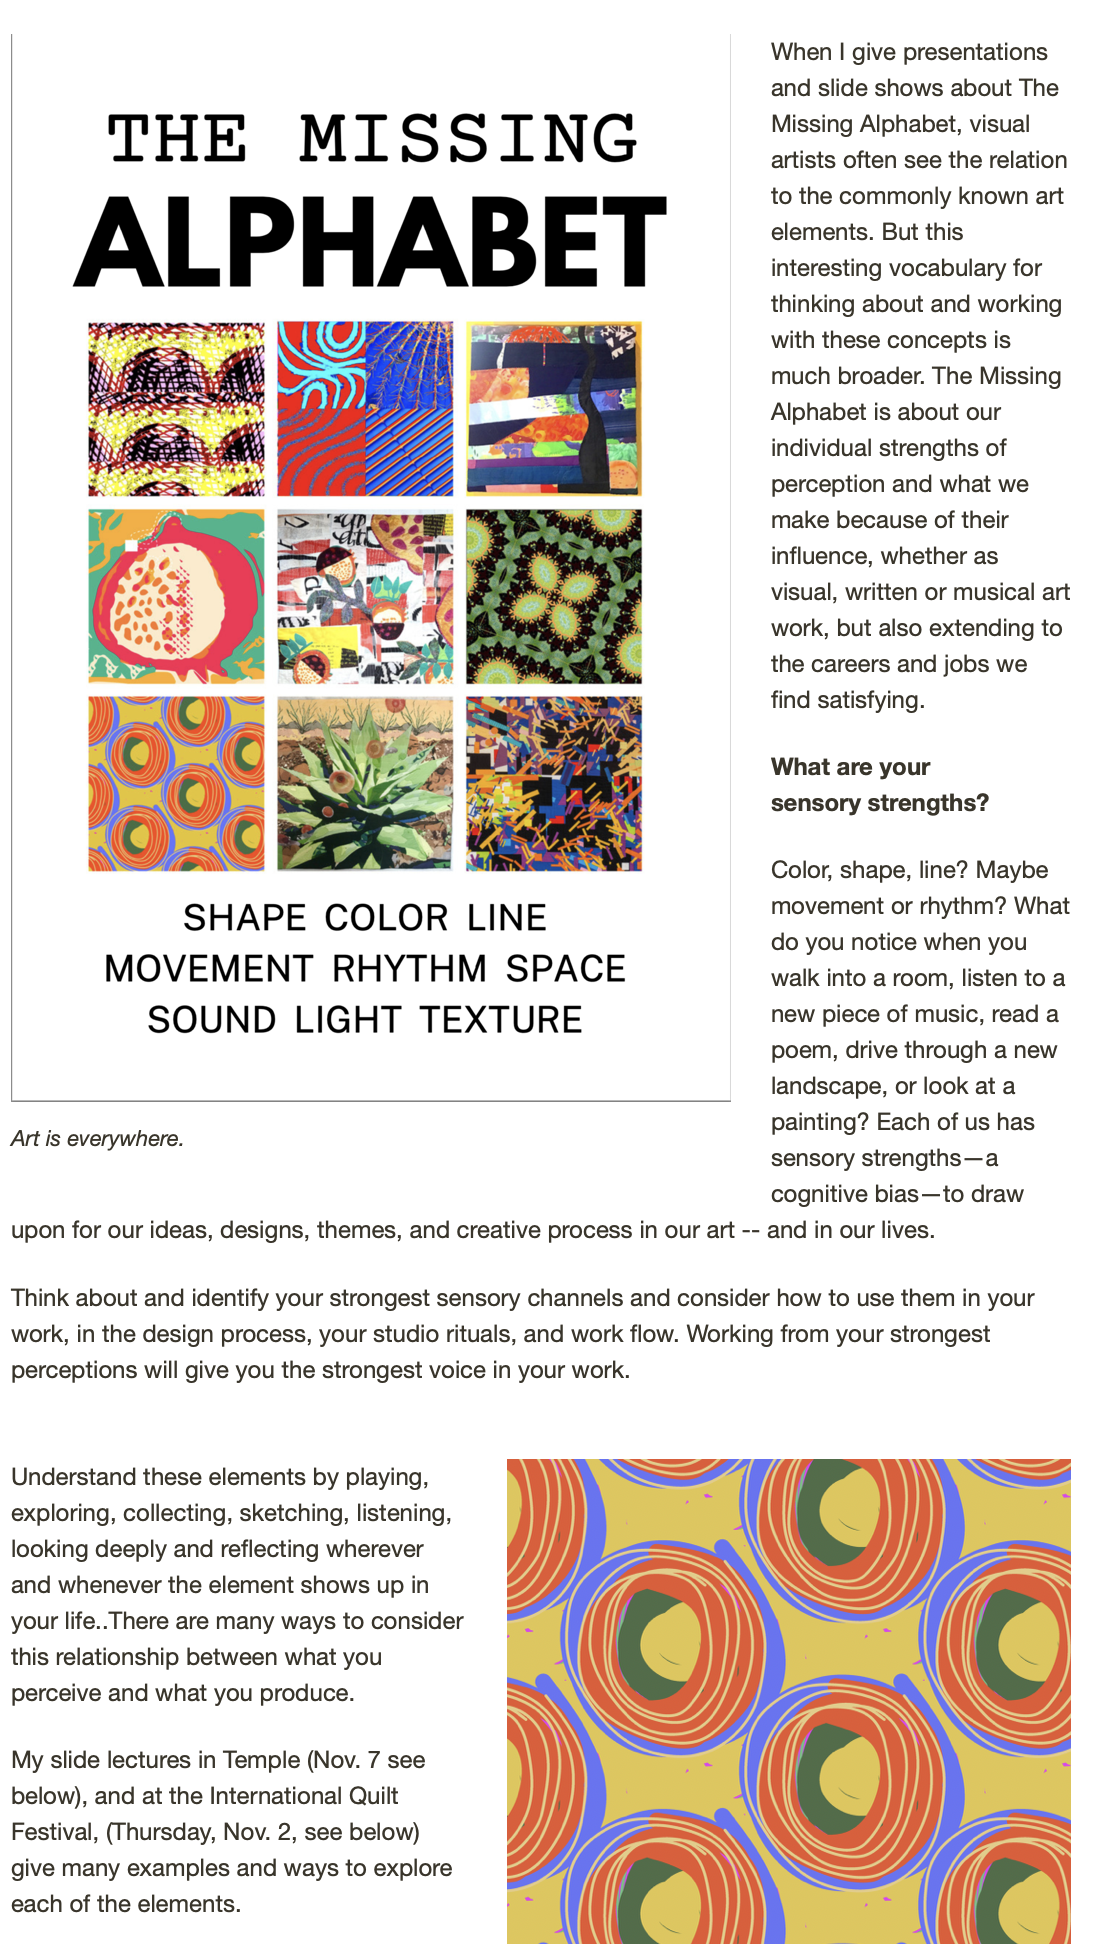
We start with some cutting and collage activities, then a little design seminar based on the Sensory Alphabet and then each participant cuts and pastes a logo design. The kids are in teams -- Earth, Air and Water -- serving as the "voices for the voiceless" for a short presentation that wraps up the activities each week. 

I wanted to share their designs and a little of the work-in-progress, because I think this design technique has some fine applications for coming up with art quilt designs, as well as screen print or stamp and stencil images.

The "warmup" design activities include learning how to cut notan designs, as you can see. But the kids often take the technique into new directions -- or use a different technique as they design their logo. After collecting each groups designs, I photographed them, ran each design through the "stamp" filter in Photoshop (that took out any variation in contrast and made each design a high contrast black-and-white image, even though my photos had shadows and backgrounds. Then I cropped and arranged the design images into an 8.5" by 11" design, printed it on the laser printer and made thermofaxes for each group to print in black on t-shirts. After printing, the kids colored their designs with fabric markers, and, later at the event, each autographed and wrote messages to each other.

Cutting designs.


Monoprints on Fabric


Just a few photos today, from the recent Southwest School of Art weekend workshop. We'll be reprising a few of these techniques with some natural items (leaves, sticks and stones) added this weekend at the El Cielo workshop. I just had a last minute drop out, so if you are interested, email me.


The first and third pieces were done with layers of textile paint applied from plastic plates of various kinds, textured with rollers and fingers and brushes. The second was with rainbow printing techniques directly on a screen. (You'll find more on this blog under rainbow printing in the search field.) Here's the link to Rainbow Printing.


Gifts in Order


Just in time for holiday giving, so says QA on the web today:


‘QATV’ Series 600This season we explore soy wax and flour paste resists, screen- and gelatin-printing techniques, and so much more!

Artists include:

Liz Berg, Andrea Bishop, Jeanne Cook-Delpit, Jane Dunnewold, Julie Fei-Fan Balzer, Karen Fricke, Terry Grant, Mary Hettmansperger, Carol Ingram, Liz Kettle, Kathy Mack, Lindsay Mason, Linda McGehee, Susie Monday, Diane Nuñez, Jennifer O’Brien, Luana Rubin, Jeanie Sumrall-Ajero, Terry White, and many more.


Watch a Preview Now!